We often get asked about how to install external timber cladding by our customers. So, we thought we’d whip up a guide on the best way to complete the task at hand.
You’ll be pleased to hear that timber cladding is one of the easiest building materials to work with. The reason being is that it can be easily shaped into intricate designs quickly, making for smooth, straightforward & efficient progress on your building project.
As a result, using timber cladding will allow your building teams to work at a super fast pace. Cost will be kept low, and customer satisfaction will be high when they see works being completed in a speedy fashion.
Here at West Midlands Builders Merchants (WMBM), we are part of the WM Group of companies which also includes WMDG (Glazing Products), WMHI (Home Improvements) and WMPD (Property Developments).
Across the various arms of the WM family, we have developed a wealth of experience in using external timber cladding, as well as the ability to advise our customers on the best route to take regarding installations.
Read on to find out our top tips and recommendations to ensure that your cladding installations are of the highest quality! And if you’re located in the West Midlands area and are in need of some materials, head over to our cladding page today…
Cladding Preparation
As with most things in life, preparation is key. The first aspect of external timber cladding installation is choosing the correct timber species.
These different species have both aesthetic and behavioural differences. So, depending on the type of building project you are undertaking, some timber species may be a better option than others.
The main differences include appearance, durability, colour, grain and longevity. These are very important aspects to think about when planning any aspect of a building project, and this is no different when it comes to choosing your external timber cladding!
Cladding Profiles
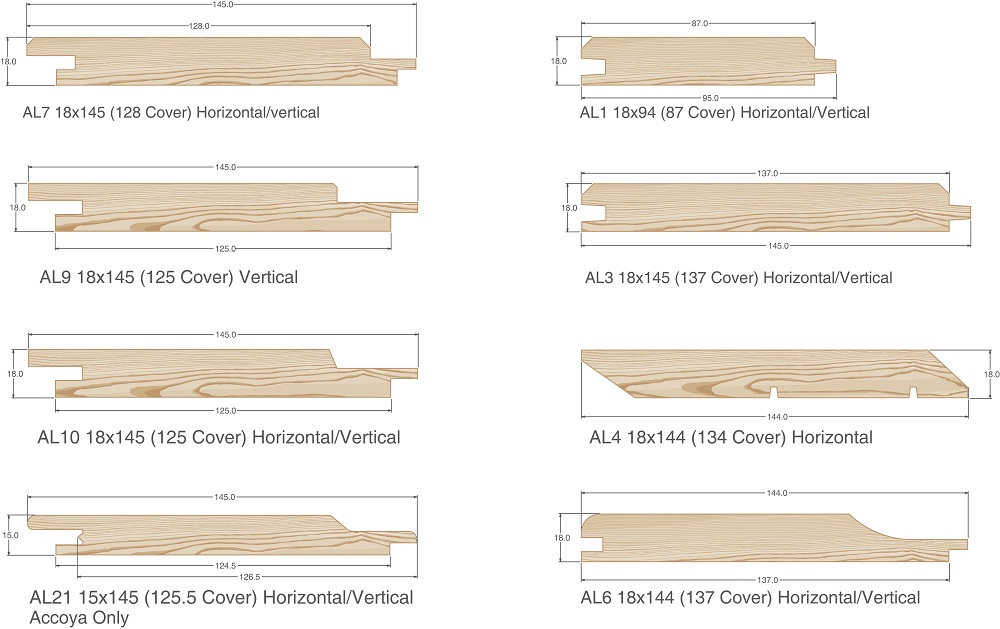
The next port of call is deciding which cladding profile you want to use. Again, different cladding profiles will be better suited for certain projects, as this will determine how the cladding behaves, looks and how it will impact on the installation process.
Different cladding profiles have unique advantages to make use of. Here’s a run down of some of the most common profiles in the industry…
Feather Edge
A traditional looking profile, created by sawing a board along its length diagonally. The resulting cladding can be overlapped when fitting, similar to the technique seen when installing roofing slates.
Advantages:
- Cheaper than most other cladding profiles
- Provides a traditional or rustic finish for those who desire it
- Available in oak, douglas fir, pine and thermowood
Shiplap
A profile with a smooth finish and overlapping edge to ensure complete water tightness. Shiplap cladding can be seen across both modern and traditional properties, but the height of its popularity was in the 1960s and 1970s. It is believed to have been used in early shipbuilding methods, ergo the name.
Advantages:
- Shiplap hides fixing screws, making them invisible as the next cladding boars is placed over it
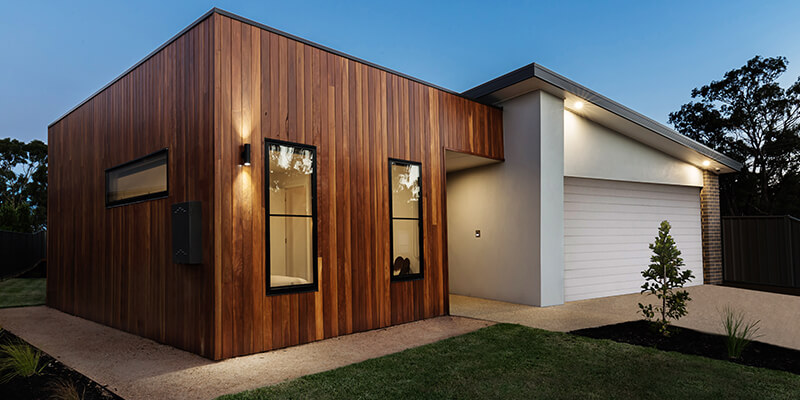
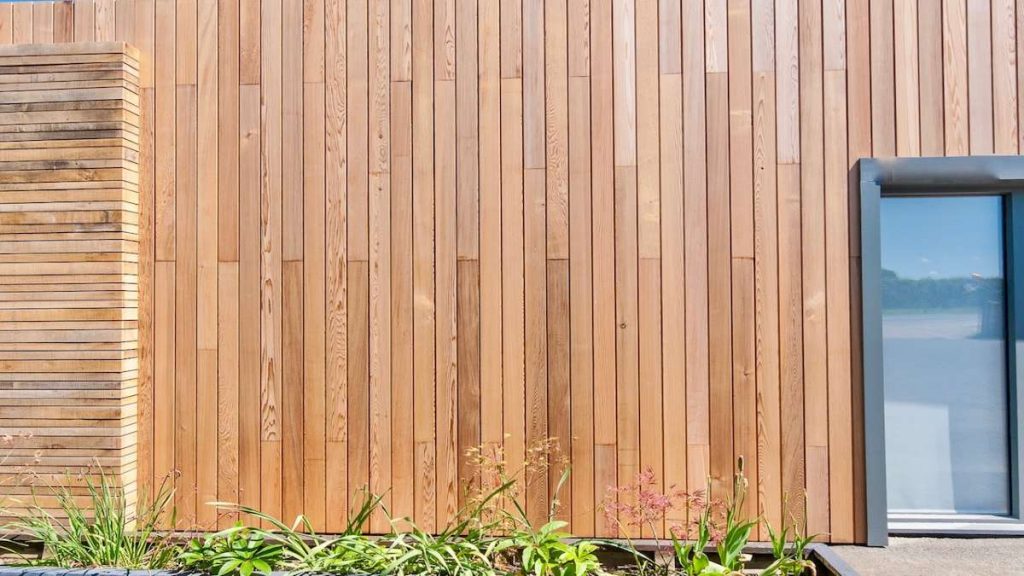
Tongue & Groove
Arguably the most popular external timber cladding profile, providing a very contemporary under look that suits most modern properties. Although some care is needed during transport and installation due the thin tongues the profile possesses.
Advantages:
- The interlocking tongues and grooves yields increased stability
- Modern aesthetic
Half lap
A clean and linear cladding profile which is completely waterproof. It best suits new build properties and modern extensions.
Advantages:
- Half lap can often be used as vertical cladding
- A sharp aesthetic is provided which suits contemporary properties or renovations
Splayed
The splayed profile consists of rhomboid shaped boards which are evenly spaced. Unlike the above profiles, splayed cladding doesn’t interlock, but can be made waterproof it laid close together.
Advantages:
- Once installed, it makes for one of the most beautiful profiles
- Splayed cladding requires less maintenance that other options
- It has increased thermal performance
Timber Treatment & Acclimatisation

Timber needs to acclimatise to its surroundings, as wood swells and shrinks as it absorbs and loses moisture. The material undergoes a natural process of wanting to acclimatise and reach an equilibrium point of moisture content with the environment that surrounds it. Installing cladding in an environment that is significantly drier than where it was stored can result in warping or cracking as it adjusts.
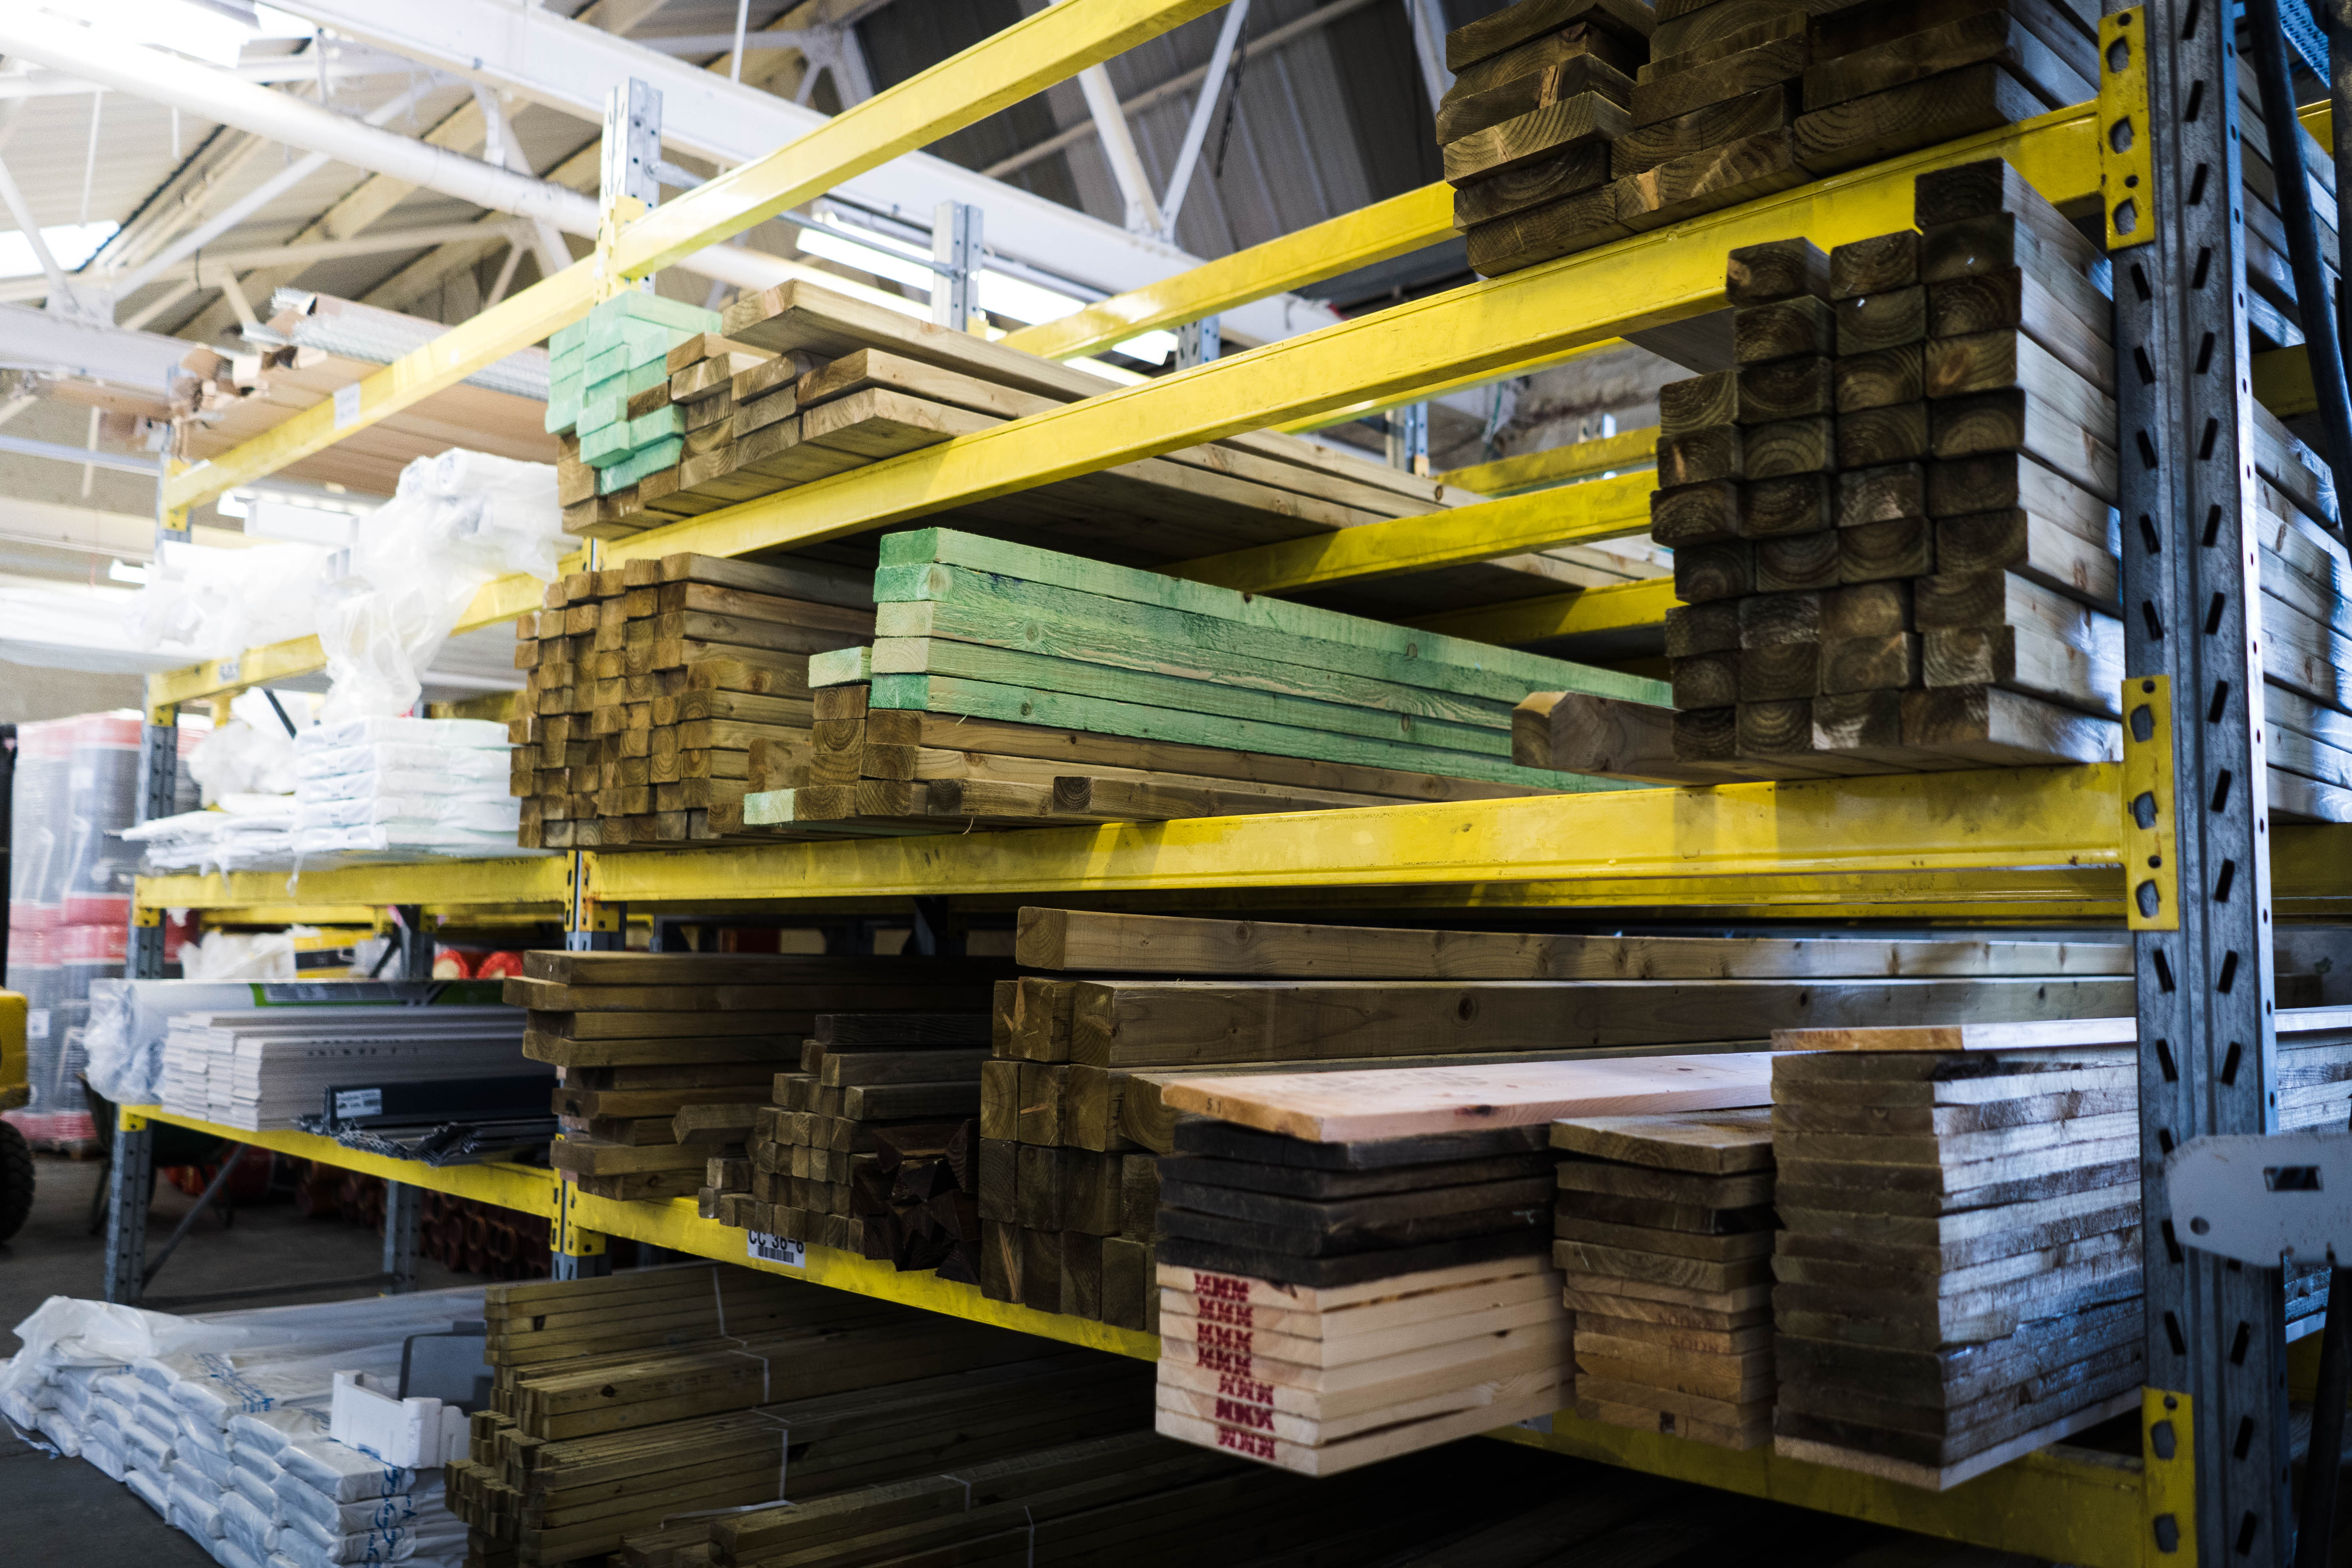
Therefore, the location of the build is an important factor to consider, as different timber is used in different climates. All timber must have completely acclimatised before being installed. Ensure that you store timber in a dry, cool place with good ventilation (i.e. remove any packaging around it) to allow the acclimatisation to occur as efficiently as possible. This should take approximately two weeks.
During this time, you can prepare the wall by removing any skirting, rails, and checking the wall for weak points by tapping it. If a wall sounds hollow, it’s likely that the plaster won’t be strong enough to hold the cladding and will need to be removed and replaced.
Measure Twice. Cut Once
As the old saying goes, it’s always better to check and double check your measurements and product specifications throughly. There isn’t a worse feeling in the world than almost being finished with a project, and suddenly realising you need a few more pieces of cladding.
A good way to avoid this happening is by incorporating a building management plan into your process. Chat with architects and building teams, and assess timescales and material requirements. You should have all the info you need to ensure you buy the correct amount of building materials including timber.
External Timber Cladding Installation
Equipment you will need:
- Cladding
- Battens
- Wood Filler
- Cladding Fixings
- Varnish
- Power Drill
- Saw
- Claw Hammer
- Spirit Level
- Pencil
The species & profile have been selected, the timber has acclimatised and you have acquired the exact amount of materials you need to complete the task at hand. Now, it is time to fit and fix your external timber cladding!
The selection of timber profile will largely determine how to install your cladding, as the various profiles fit together in different ways. However, cladding panels should universally be installed by attaching them to backing structure battens. Each panel should also be individually fixed.
Cladding Fixings
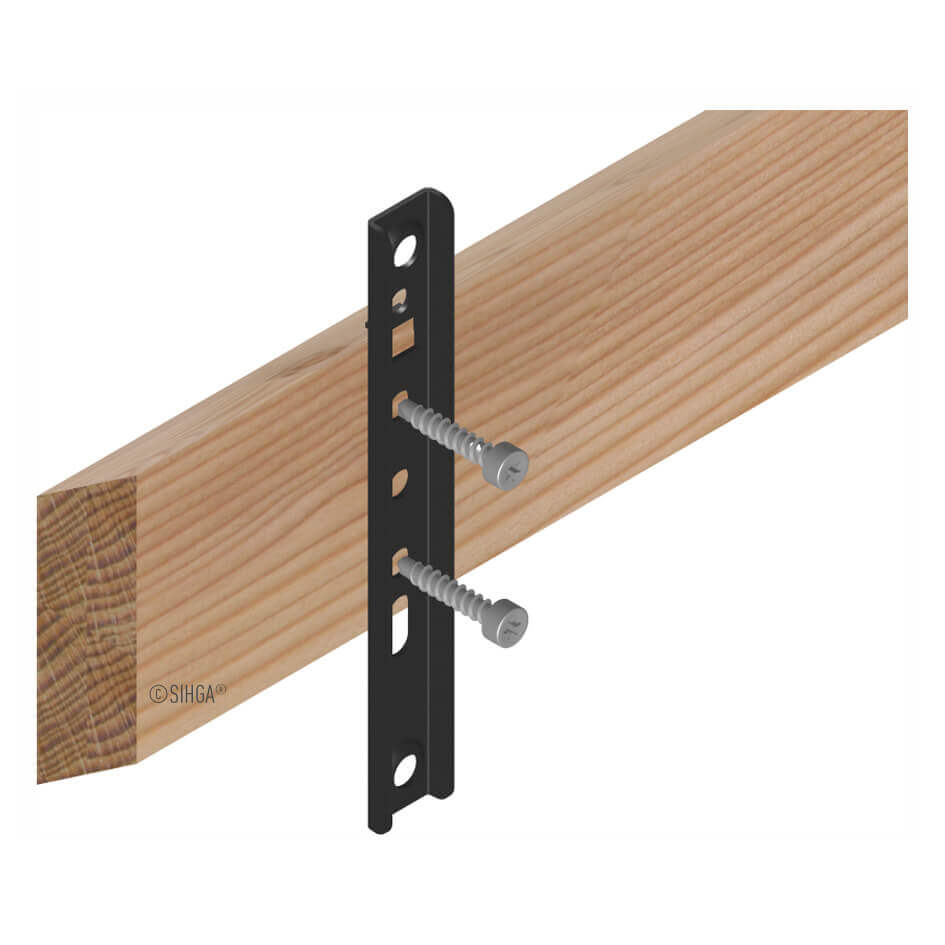
Fixings must sit flush to the cladding board surface, and we recommend doing this by hand. This will aid in the prevention of overdriven nails, which therefore avoids any splitting or other visible damage that could occur to the panels.
There are two types of fixings that you typically use to install external timber cladding…
Secret Fix – Where a single fixing is applied through the bevel line (normally 25 degrees) of any profile width up to 100mm.
Face Fix – Where nails are fixed through the thickest part of the cladding, with each board fixed independently. Applied to any cladding profile width over 100mm. Face fixing must be used when installing the first board on each elevation.
Wall Structures
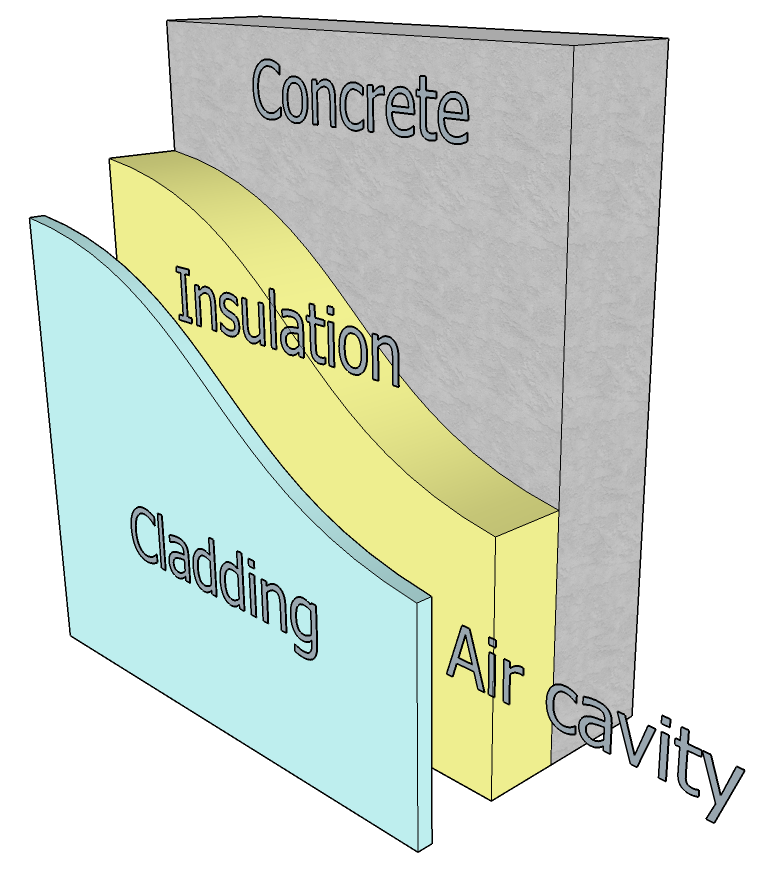
The wall structure itself will have an affect on the best way to install external timber cladding. An expert is necessary here, but we’ll provide a brief general guide below…
Step 1
Once a wall is prepared and the cladding is readied, you will need to attach battens to the appropriate wall. Battens are pieces of treated timber that will support the cladding. Battens are generally nailed to the all, but in some cases you may be able to just use adhesive. However, nails are more appropriate in the vast majority of cases. Battens should be attached in horizontal strain lines with intervals of around 400mm on the wall, with the lowest batten placed just above the skirting.
Step 2
Before moving on to installing any cladding, make sure that it is ready i.e. sanded down and dusted. By doing this, all the cladding will require post-attachment will be a final layer of paint or stain.
It is far more difficult to do the aforementioned tasks once attached, as you won’t be able to remove the cladding or reach the edges of each board. Then, apply two layers of your paint or stain to the cladding to prevent warping, but fo not apply any to the tongue & grove to ensure that the fit is uninterrupted.
Step 3
The next step is marking your boards at your chosen height with a pencil and mark all angles accurately too. If a mistake is made here, the tongues & grooves in the cladding won’t fit together properly.
Step 4
At this point, your cladding should have dried and be ready for installation. Work from left to right when installing, and regularly check the levelness of the boards with a spirit level. Even if you know your battens are on straight, it’s surprisingly easy to get engrossed during this phase and slowest drift off course!
Step 5
Insert the pins past the groove of the cladding and straight into the batten behind it. When one cladding board is attached to the batten, place the next board in position and use an office to protect the groove of the new board as you gently hammer it into position.
Step 6
Finally, once all cladding is in place, you can go ahead and fit any skirtings and mouldings around them. Ensure that you pre-finish in the same way that you did the cladding, and fill any pin holes with wood filler. Apply a final coat of finish to the wall and the task is complete!
Please note that slightly amended approach may be required for different walls…
External Wall – Attach battens to the external wall, before then fixing cladding to these battens.
Cavity Wall – Attach battens with plug and screw, before then fixing cladding to these battens.
Timber Frame Wall – Attach battens to studs in the wall, before fixing cladding to these battens. Ensure that there is also a breather membrane to allow for sufficient airflow.
And that is how to install external timber cladding!
We hope that this blog aids you on your external timber cladding projects!
Speaking of which, if you need some cladding and are looking for a Builders Merchants in Birmingham or a Builders Merchants in Coventry to supply your needs, look no further than West Midlands Builders Merchants!
At WMBM, we are you one stop shop for building supplies and materials in the region. We simply won’t be beaten on price, product quality or customer service.
Have a browse through our various product pages which include plastic building supplies, drainage, guttering, roofing, cladding, insulation, plumbing, electrical supplies & more.
You’ll be able to find some of our prices on each page, but if you need more information, give our team a call today! Call our BIRMINGHAM branch on: 0121 558 3888 or our COVENTRY branch on: 0247 666 7050.